Since I had to figure this out multiple times now (because I always forget how to do it +___+), here’s a workflow that seems to be working for me to add white frames of different widths to different sized pages to vector illustrations – my local printer The Art of Print (which is amazing ^__^) here in Edinburgh wants it that way.
I need page sizes ranging from A5 to A2, including borders between 5 mm and 2 cm.
Yesterday I figured out that it should be possible to do this in Inkscape with clones but there seems to be a bug that just exports nothing instead of clones on a new page (and cloning a whole illustration is no fun because you need to put it all in one top layer with sublayers).
After a lot of fiddling I remembered that in Scribus you can actually import PDFs (but not SVGs, apparently) as images into image frames (ctrl-i or rightclick > Content > Get Image) if you change the „Files of Type“(?) to „All supported formats“.
This imports the vector graphic as an image (not what we want at all!) but unlike File > Import > Get Vector file which imports (or rather appends, inserts) the PDF or SVG as editable objects this cuts the image at the original page border (yay).
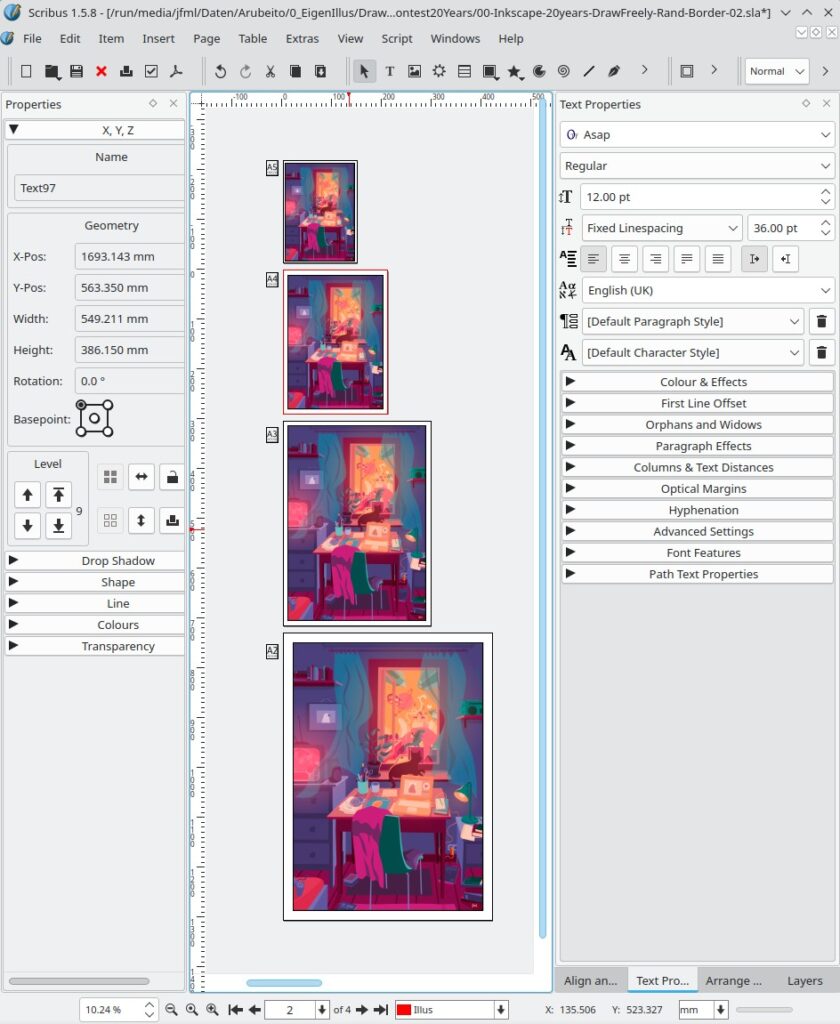
You can then arrange the PDF / image just as you need on pages and when exporting it to a PDF for printing you can check the box on the PDF export dialogue in General > File Options > Embed PDF & EPS files (EXPERIMENTAL!) to export the PDF „image“ as vectors. This has always worked well for me so far.

Thanks to Raghavendra Kamath for pointing out this last trick out to me, otherwise this whole process would be useless ^__^
Now I just need to remember how to do this when I need it again in a few months …